Pages

Showing posts with label Signature Blocks. Show all posts

Monday, April 1, 2024

Design Wall Monday - April 1, 2024

 Good Morning Quilters!

Here’s one of my Dad’s corny jokes for you:

He walks slowly into the kitchen, draggng his feet on a morning like this one and says….………..….”Boy, am I TIRED!”.

 And either my brother or I would answer…..”Why?”

He would very slowly explain….……”Well, who wouldn’t be, after a March of 31 days!”

As an Army infranty man, serving in WWII, he especially enjoyed his yearly joke for us.

My week has been one of travel.  And today I will be traveling even more.  We are driving from Grand Rapids to Chicago and back to help a friend who needs transportation.  So this post will be short and sweet.  What is sweet about it?  How about finishing the binding on a quilt….actually two UFOs in one.  Hurrah!

The front view:


Back view:


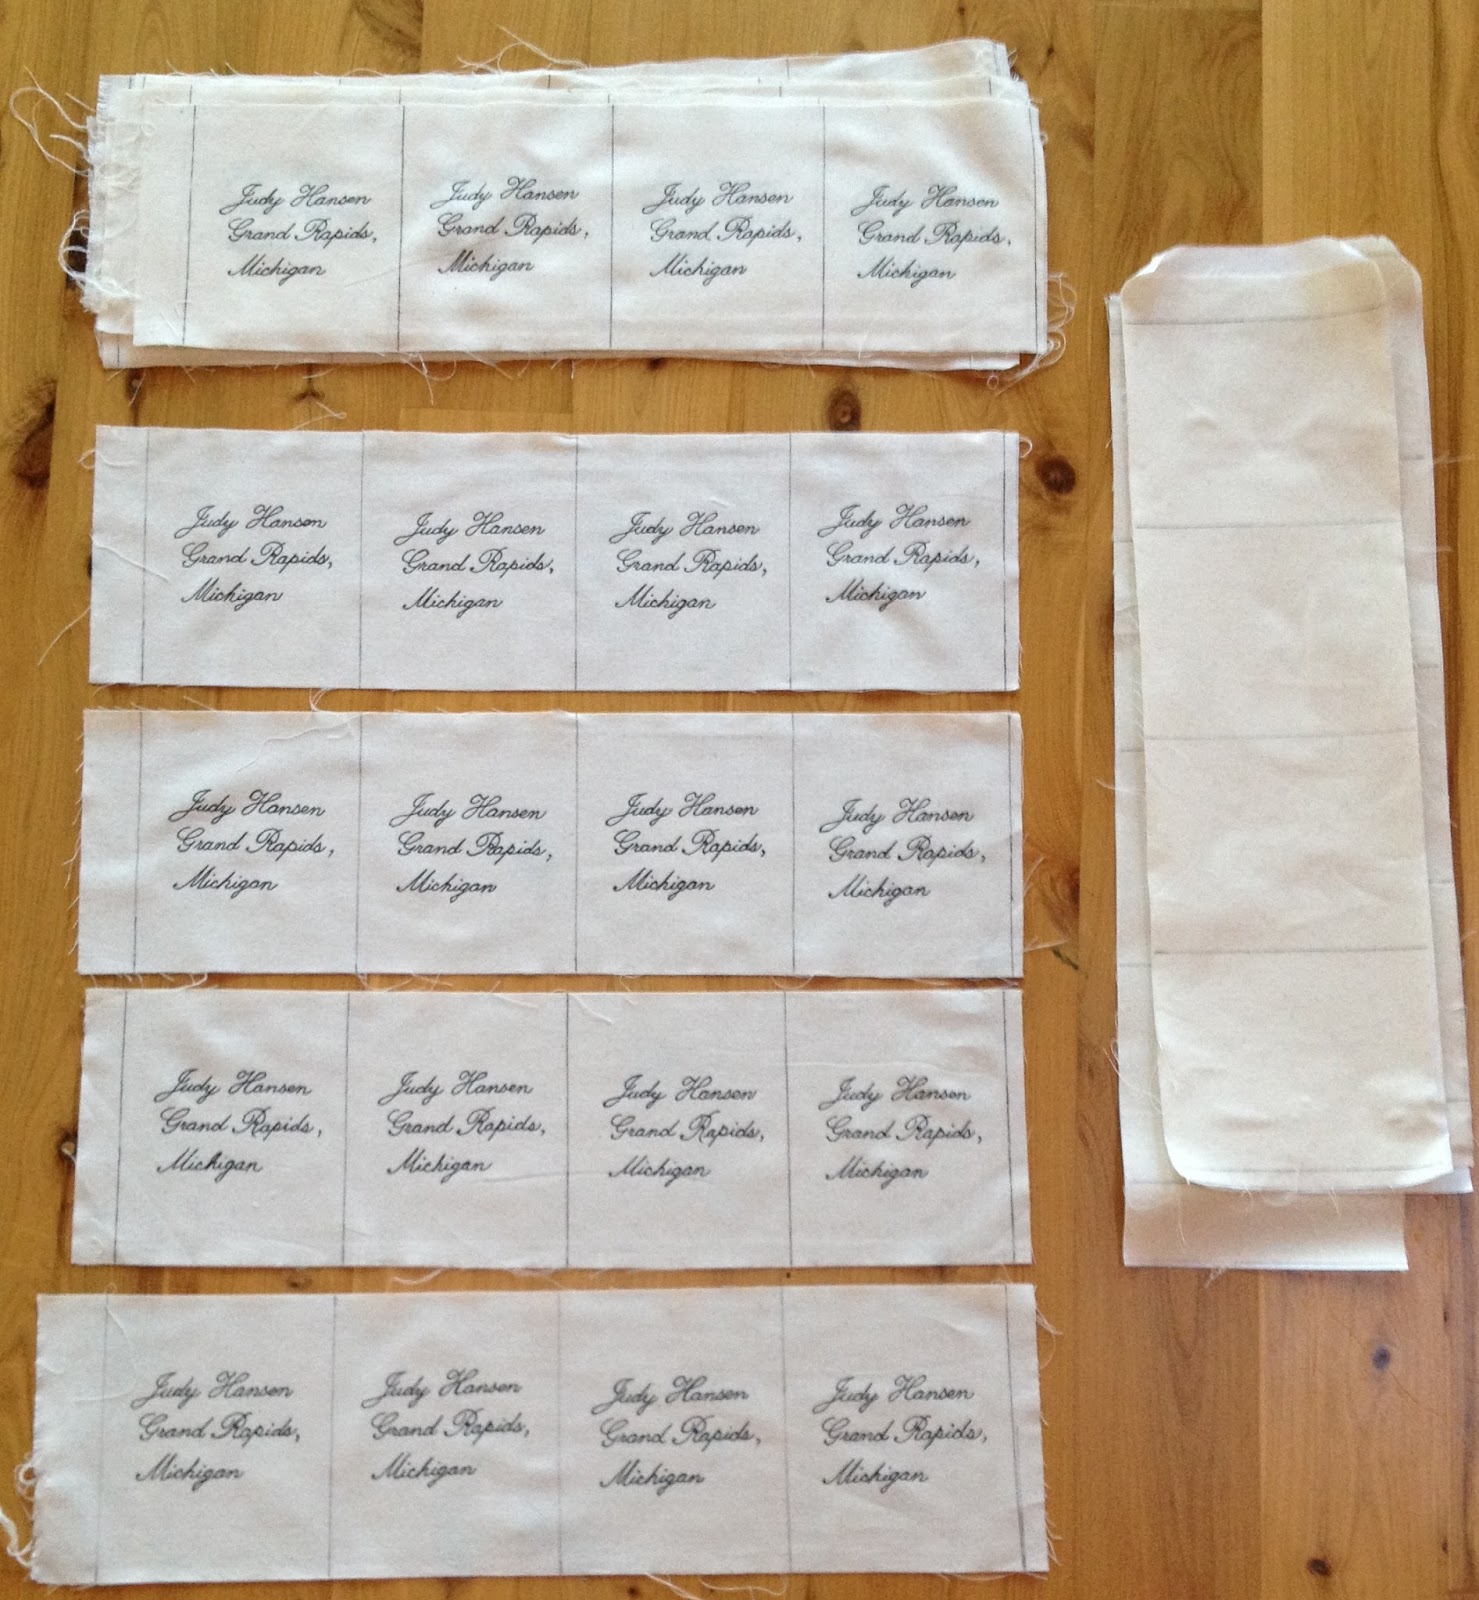
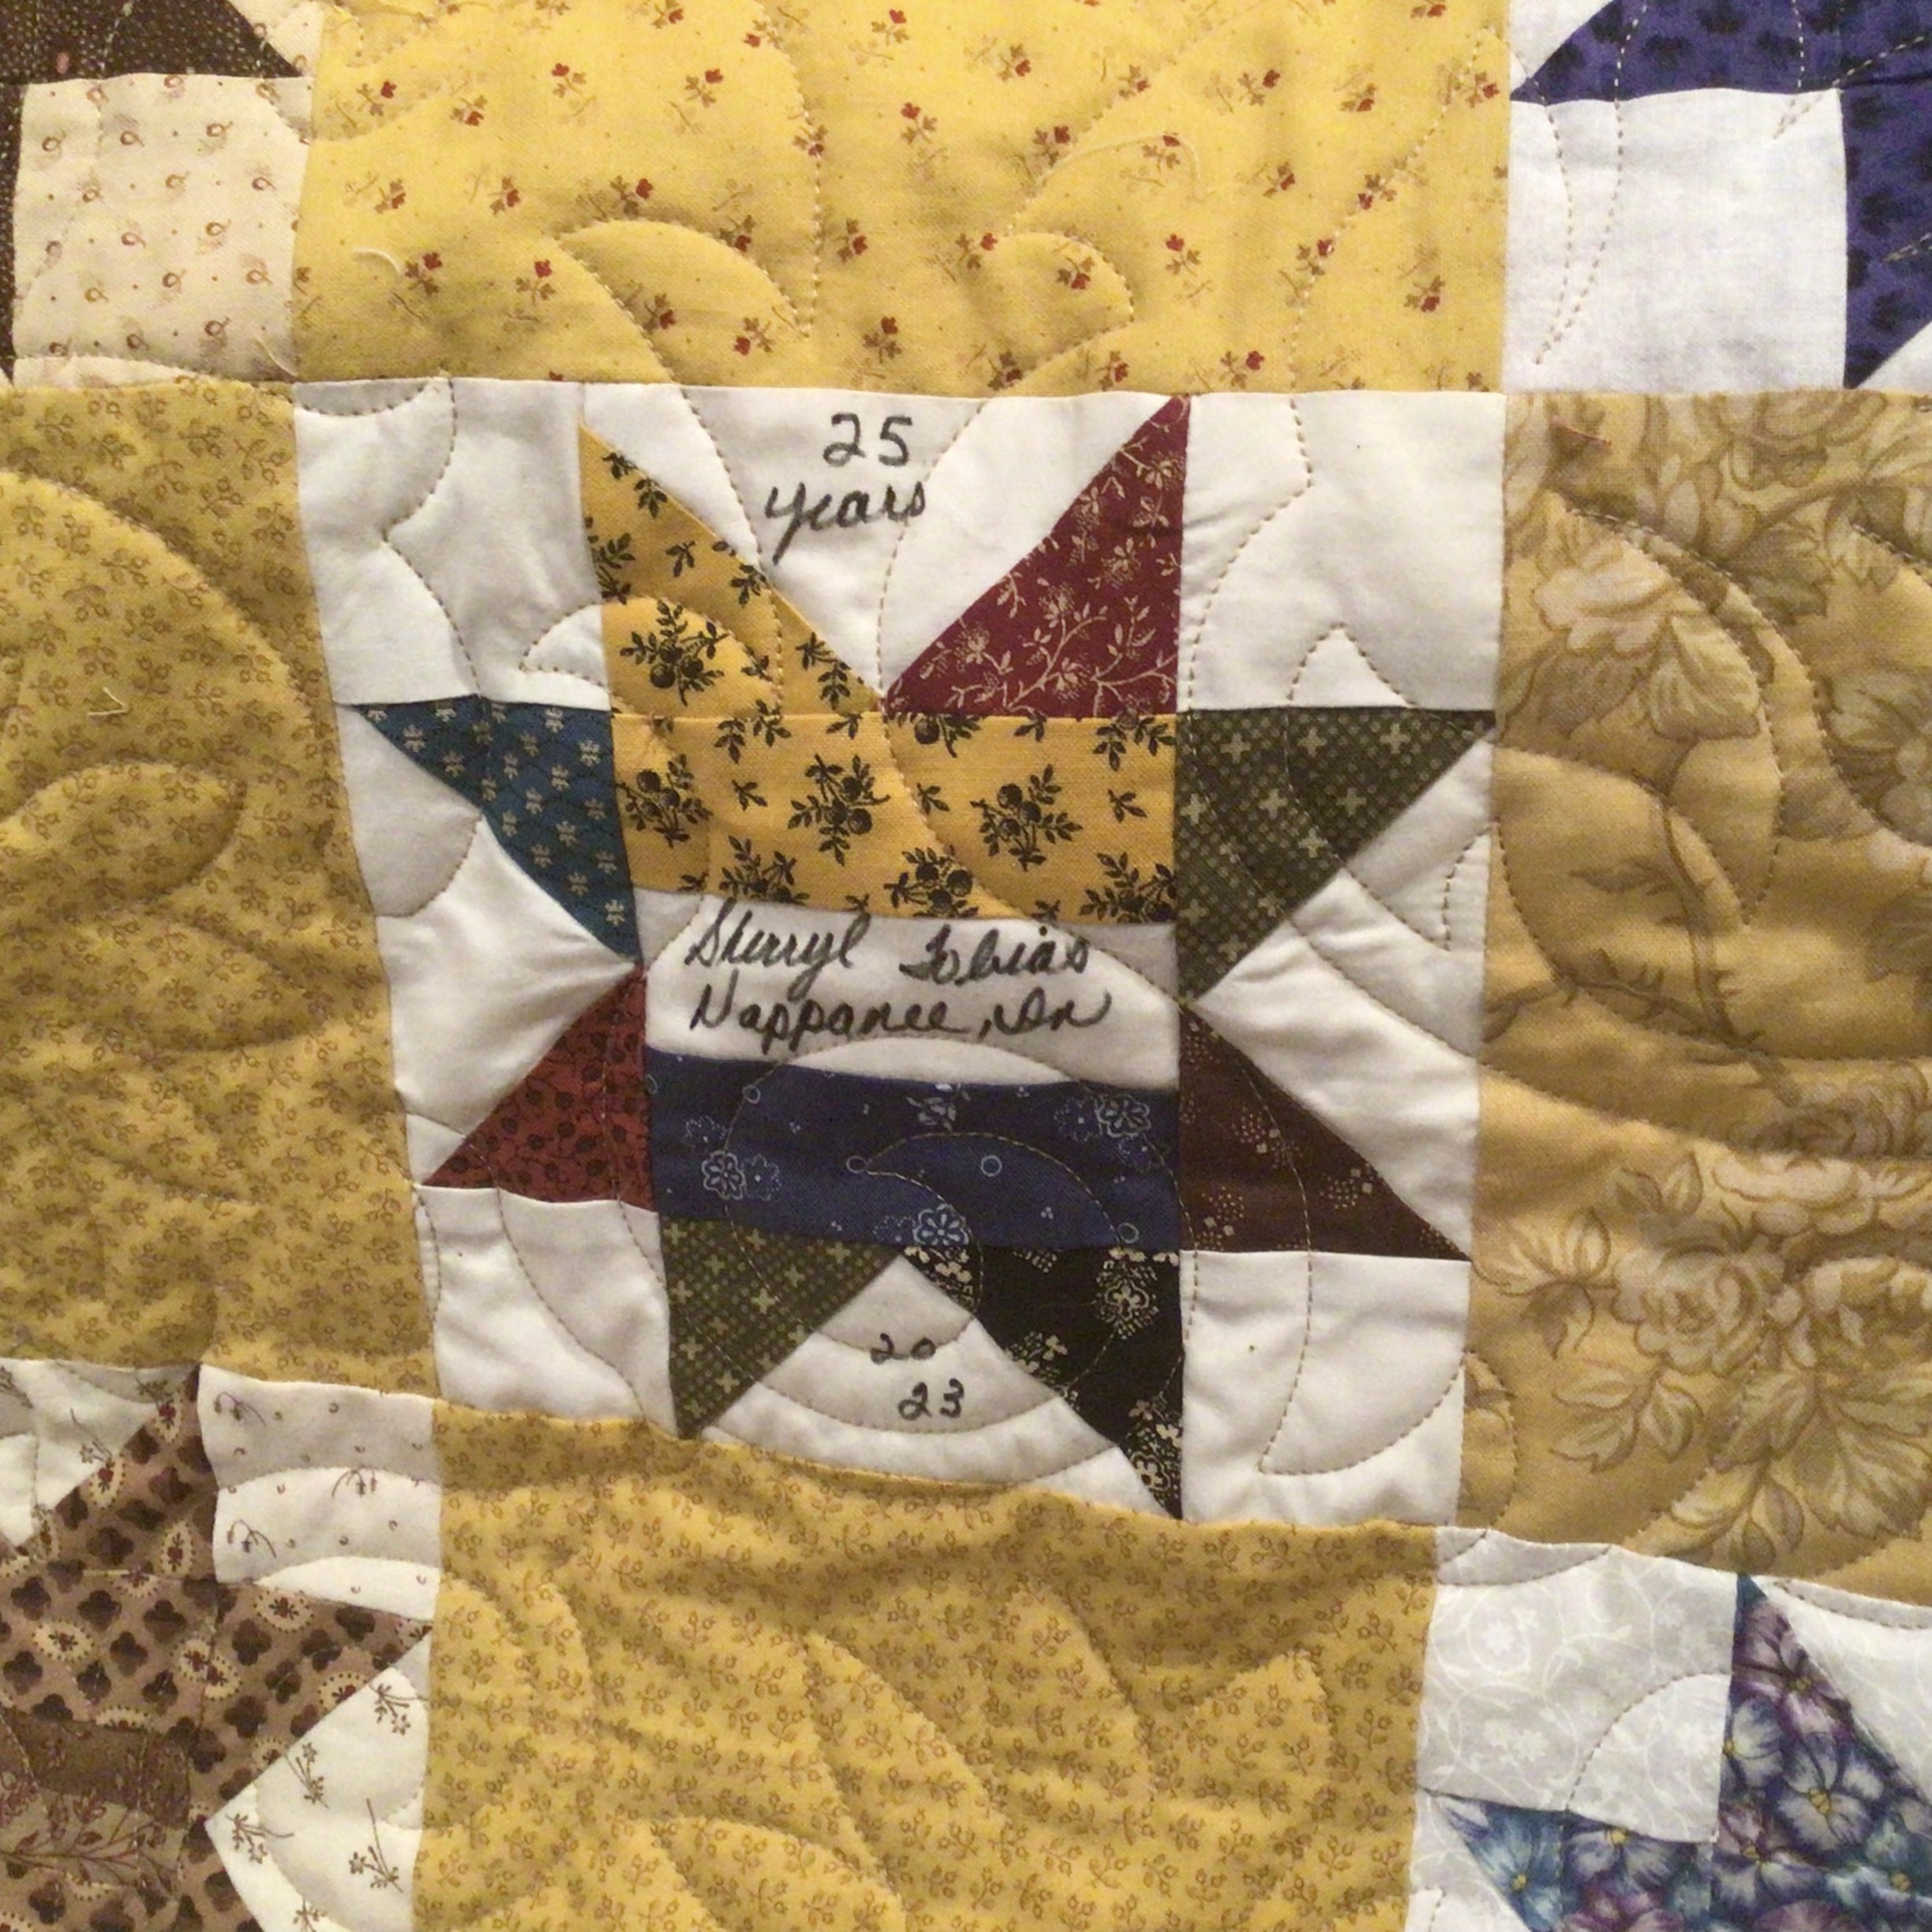
This quilt has signature blocks on the front from a 2023 group exchange from the Jane Stickle Quilt Retreat ladies.  The back has signature blocks from the same group from 2015.  I am glad to have both sets of blocks into a finished quilt, and I will use this one on my couch so I can be warmed by my friends.  

 Close-up pictures of the blocks on each side:


What are you working on this week?  Please join our Design Wall Monday Linky Party below and show us.  Thank you for faithfully participating.  I appreciate you.


You are invited to the Inlinkz link party!

Click here to enter

Monday, February 19, 2024

Design Wall Monday - February 19, 2024

 Good Morning Quilters!


The signature quilt that I showed you last week now has the flange sewed on, and also the final border.  Here is a picture:


A close-up of the flange:


I don’t know about loose flanges.  This one will sometimes lay toward the quilt side and sometimes twist and lay toward the border side, and I want it to always lay toward the border side.  I am going to hand sew the loose edge down onto the border.  So I guess once it is sewn down, it’s no longer a flange.  I now see why it would be better to have one that is not as wide.


Also, I finished up the rest of a block for the Cousin’s Walk bird quilt.  I appliquéd the bird’s eye and the flowers and their centers, which completed it.  It has been on the back burner for a while, and I’m glad I’m working on this project again.  Here is the completed block:


What’s on your design wall this week?  We are looking forward to seeing your blog posts and pictures.  Thank you all for participating in the Design Wall Monday Linky Party.  You are a blessing to me.  Join in below and please mention Design Wall Monday in your post.  


You are invited to the Inlinkz link party!

Click here to enter

Monday, October 19, 2015

Swap Blocks of Signature Blocks

I know I've not posted for a while, but there's a good reason:  I've moved, and my new quilt room is full of boxes.   In fact, the whole house is full of boxes, but we are so happy to be all in one state (Michigan) now.   There will be a new quilt room post when all the unpacking is finished.

Lots of quilting going on, and one project is preparing attic window blocks for a swap.  This is the first time I've participated in a signature block swap.  

Why did I sign up for this swap?  Because I have such a great time with all the ladies of the Jane Stickle Quilt Retreat that I wanted to make a quilt with all of their signatures, so I could remember them fondly when I am not with them.  We have such a good time twice a year in Shipshewana, Indiana.  The next retreat is coming up in November, and I thought I'd share how I am making my blocks.

Some people in our group said that they did the signing of the squares first, before the sewing, so that's what I did.  My thought was, if I mess up the signature and have the "Y" seam all together, that would not make me happy.  If I mess up the "Y" seam, I can do it over.  And I'm doing the "Y" seams just because they give me trouble, and I need the practice on them.

Here's how I did the signature part:

(1) washed and dried the muslin fabric

(2) cut it into long strips, allowing a little extra at the top and bottom of each strip, then sub-cut into 5 signature pieces per strip.

(3) drew lines on the strips to show left side and right side edges of a square

(4) Ironed the 4 block strip to a piece of freezer paper (for stability)

(5) Printed out my name and address from the computer in a font I liked, which was "Palace Script MT", available on my Microsoft Word software.

(6) Taped the printout from (5) above to my light box.


(7) Taped the muslin strip on top of the light box, and traced my signature onto the muslin fabric.  I used a permanent ink fabric pen, from a quilt store.

(8) Ironed the signature strip to set the ink (Don't know if this is necessary, but I did it)


(9) Cut the strips into individual block pieces.

Now I have to add the attic window two strips (one dark and one medium) to the left side and bottom of the squares.  This is what I am working on today.

Here is the first one I made, which is a little wonky on the bottom fabric, but I hope I will improve as I go along:


I'm linking to Judy Laquidara's blog for Design Wall Mondays, (Here)  What are you working on today?