Pages

Monday, October 26, 2020

Design Wall Monday - October 26, 2020

     True to my name, Small Quilts and Doll Quilts happened this week. 

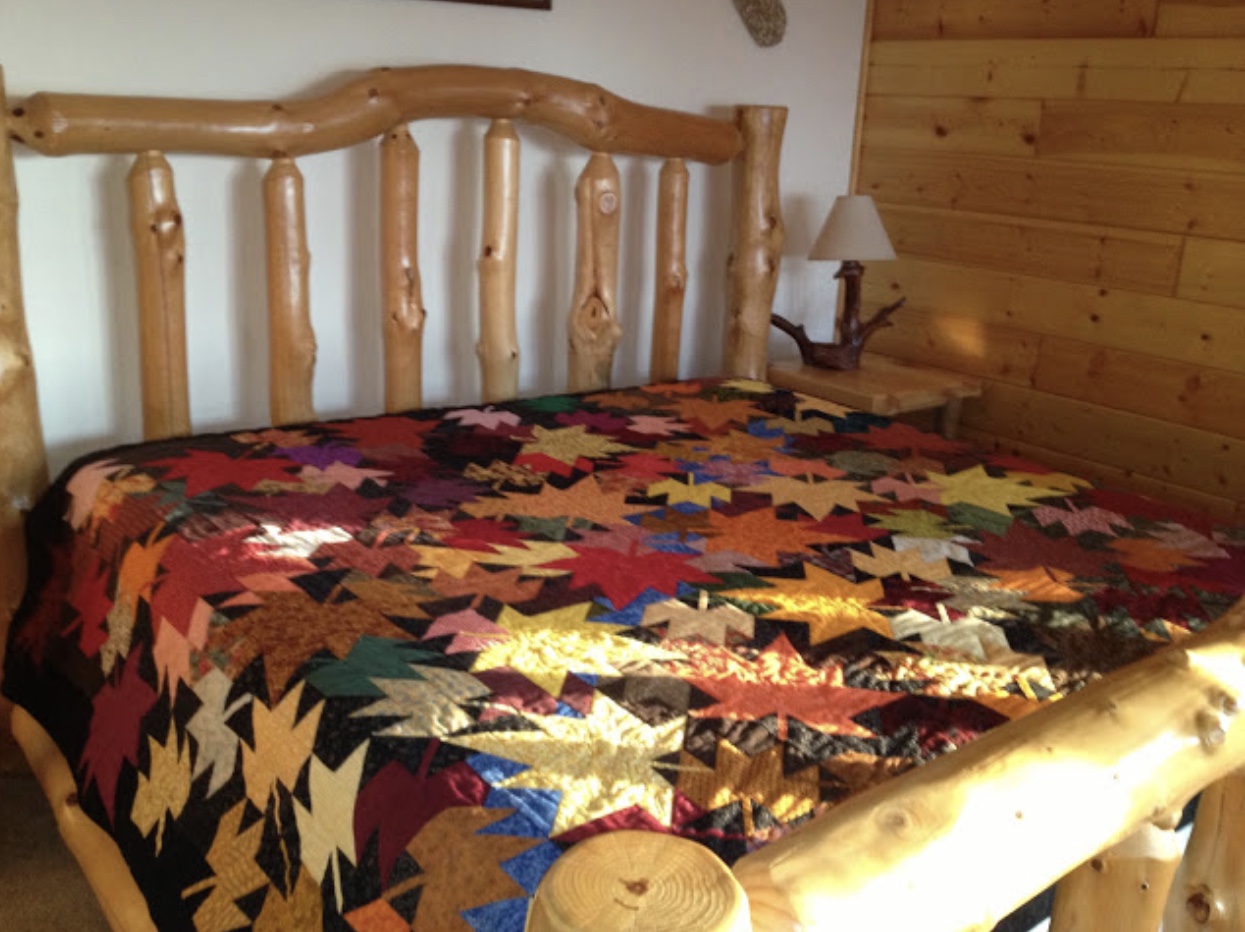
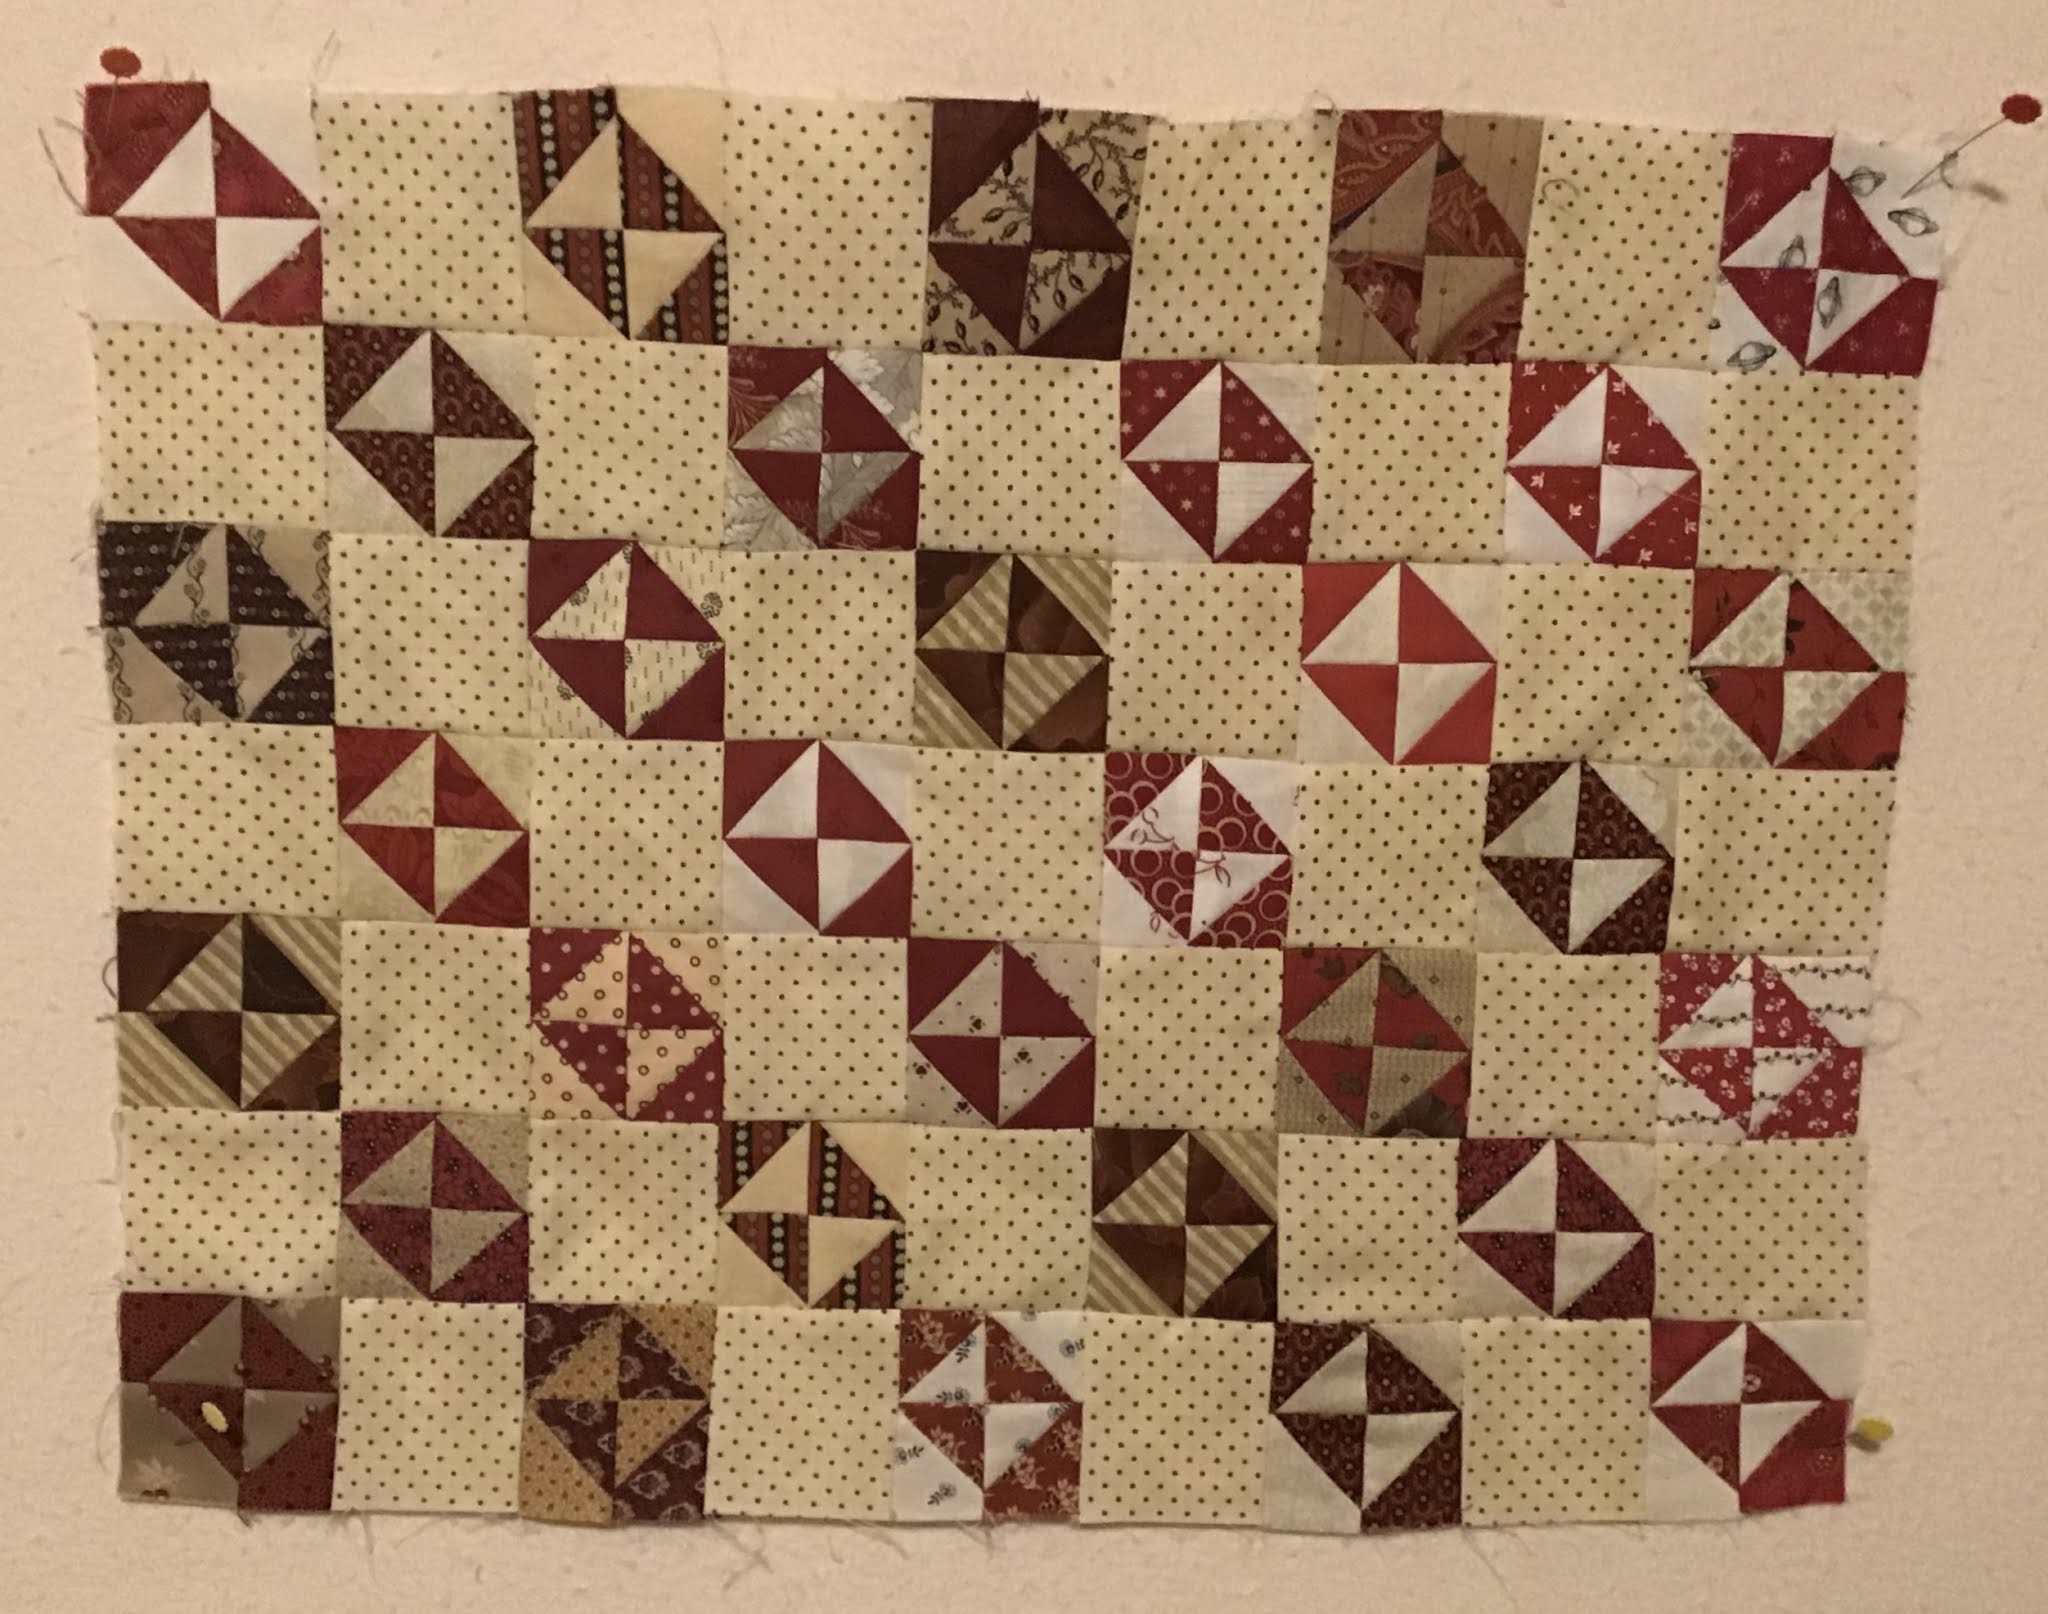
 (1). I was putting some scraps away, and found some broken dishes blocks that were lost a while ago.   When I was making the broken dishes king sized quilt (this one) I lost some blocks, and had to make more.  Now that quilt is completed and I found the lost parts.  I decided to make a doll quilt with the blocks, and used all but one block.  The top is made and it's ready for machine quilting.  It is 14” by 18”.  The broken dishes blocks are 2 inches square.


(2) When Bonnie Stapleton gave me some of her civil war repro scraps, there were some pieces that I thought went well together, and this week I joined them together, quilted and bound the little quilt.  The little hsts are 1.5” square and the quilt measures 6” x 7.5”.  I will be using it as a mug rug.  Thank you Bonnie.


(3)  While I was working in the box of triangle pieces, I found a group of cheddar triangles and decided to make a fall wall hanging.  I added muslin to each triangle to make them squares (hsts) and trimmed them to the largest size they could be uniformly cut.  Turns out that was 2.5” x 2.5”.  The center is 17.5” square.  I added 3” borders to them, and it is ready to machine quilt.  


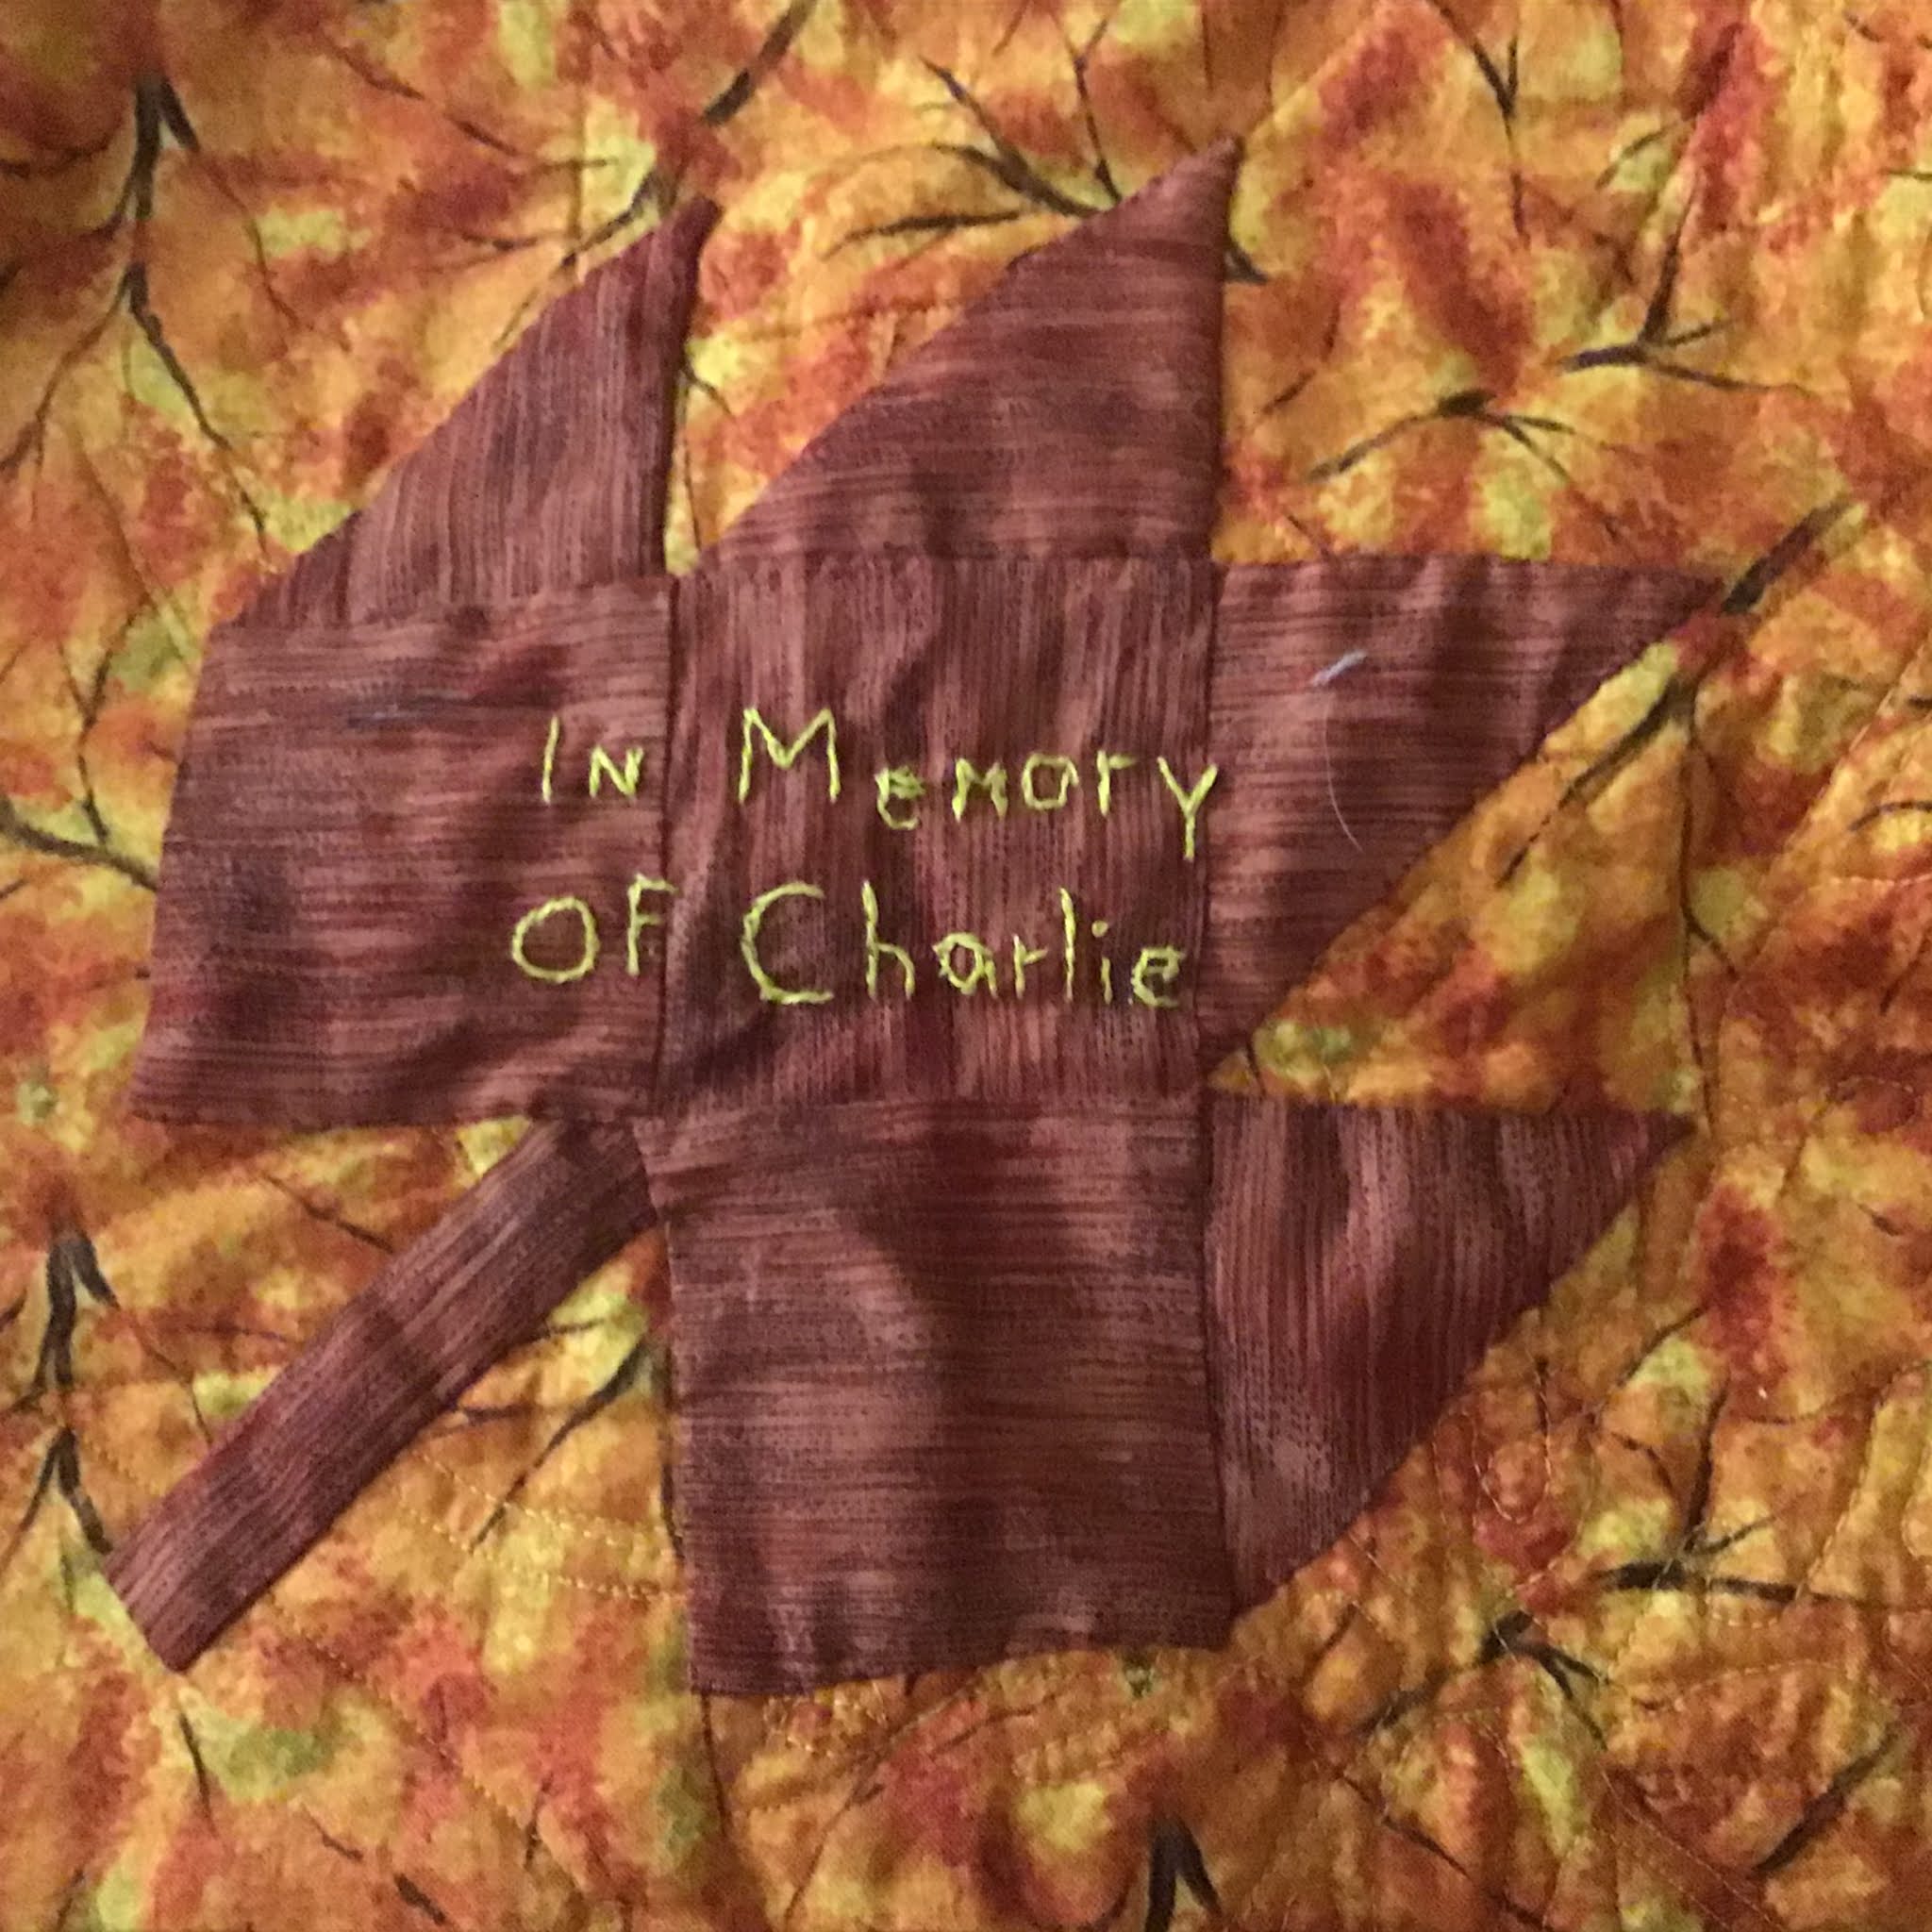
The only other thing I did this week was to embroider Charlie’s name to the leaf on the back of the Third Week in October quilt repair job of last week.  Someone suggested I add “In memory of Charlie” to the leaf and I did.  Primitive looking but just fine with me.  Hunter will like it.


What did you work on this week?  Looking forward to seeing your linkup pictures and reading about them.  Thank you for posting each week.  Please provide information about Design Wall Mondays and a link back to this post.  


You are invited to the Inlinkz link party!

Click here to enter

Monday, October 19, 2020

Design Wall Monday - October 19, 2020

 “The Third Weekend in October” is the name of one of my favorite quilts.  I blogged about making it (Here) 


If you would like to make this quilt, please check at the artist’s website for info.  (Here). The artist is Ruth Powers.  I think it is named so well, as this is the view out my bedroom window in Grand Rapids this week, in the third week of October.


I gave this quilt to my favorite grandson Hunter.  (please understand that all eight of my grandchildren are my favorites - each in their own way).  At Hunter’s home, his sweet old golden retriever, Charlie, liked this quilt so much that he ate a little part of it!  Three holes all the way through.   Charlie has recently passed on, but I like to think that a little of my quilt will always be comforting him.  
This past week I’ve been repairing the quilt.  The pictures below are of the process of fixing these holes in the middle of the quilt.  Charlie chewed all the holes in just one leaf......good boy!


I found some yellow fabric that closely matched the leaf. 


Pinned it down over the damaged part. 


Appliquéd it down.


Re-quilted the veins in the leaf. 


And, now the back of the quilt...Cut new batting and basted it into the holes where batting was missing.


Figured out what to do to cover the holes on the back (I had no more of the backing fabric). I decided to add a leaf.


Here is final picture of the back of the quilt.

It is going back to Hunter this next week, and I am happy with the results. 

What are you working on this third week in October?  Please link up and show us.  I ask that you mention Design Wall Monday and link to this post from somewhere within your post.  Thank you.


You are invited to the Inlinkz link party!

Click here to enter

Wednesday, October 14, 2020

50 Shades of Brown Quiltalong

 Here is a little quilt that I made with directions from Lori at Humble Quilts (Here)  

It is fun to stop doing what I’m working on once in a while, and play with scraps to make a little quilt.  It measures 14” x 17.5”.

Hitty likes it very much.


Monday, October 12, 2020

Design Wall Monday - October 12, 2020

Good Morning Quilters!

My Buds in a Basket quilt is finished and I am stoked.  Here are some pictures of “Buds in a Basket”:


My custom long arm quilter is Joyce Brenner, who just moved from Manistee, Michigan to the Lansing area.  I think she did a fabulous job!


Changes I made to the pattern:  I added another basket to each row, and my quilt measures 76.5 wide and 79.5 long.  I know some added wider borders to also make their quilt bigger.  The pattern by Sachiko Yasuda, is from the book "A Bouquet of Quilts" and finishes at 70" by 82 3/4".  I don't think I made my outermost white border as wide as the original quilt.  I think at the point I was making the outer two borders, I didn't even look at the book and just forged ahead.  

A second note that I would share about making this quilt:  When I started it years ago, I was new to quilting and was "by the book" with every little thing.  I put each round circle and leaf in exactly the same place in each basket.  If I was starting it today, I would place the buds and leaves randomly in each basket, and relax a little bit.  LOL

 Here are some pictures of other Buds in a Basket from the internet:


Did you see that one quilter left one basket empty?  All are beautiful, and I am so glad to join them with a finished quilt.  I even put a label on mine, as I showed you last week.  Patting myself on the back.

Re labels:  Several people have commented that they thought the laser printer labels would wash out in the washing machine.  I am researching the issue further, and have painted a label with a clear fixative after printing it, and will now wash it several times to test the process.  Stay tuned for my results.

Looking forward to seeing what you have on your design wall this week.  I so enjoy seeing everyone's pictures.....and you don't actually have to have a design wall.  Just show us what you are working on.  Please mention my blog and encourage people to come here and link up.  As usual, I ask that you put a link to this particular blog post somewhere within your post.  Have a great week!


You are invited to the Inlinkz link party!

Click here to enter

Monday, October 5, 2020

Design Wall Monday - October 5, 2020


 Good Morning Quilters!  

This last week I made nine quilt labels.  I don’t know if you have trouble getting this last step completed, but I do.  However, the method I use gives me the best results without a lot of worries.  So I thought I’d share how I make labels.  

1) Cut pieces of freezer paper to 8.5” by 11” and iron them onto the fabric you want to use for a label (shiny side to fabric).  I used muslin fabric this week for all of mine.  After the freezer paper and fabric are nice and tight together and cooled, cut the fabric to match the size of the freezer paper.  

2) Take the fabric, now stiffened by freezer paper to the computer printer, and feed it in the paper supply tray so that the ink will print on the fabric side.  For my printer, I put the fabric in the tray with the fabric side down, and the freezer paper facing up.  Only load one sheet at a time.

3) On the computer, (I use Microsoft Word software) compose what you want to put on the label.  There are many fonts to choose from which makes it fun to experiment with different looks.  I save my final version into a Word file, so when I want to make another one, I have a template.

4) Print the label and hopefully your printer will feed the fabric just like a piece of paper.  (Only use this method if your printer is the ink-jet type.  Sometimes it jams and I have to start the process over, but this week all went well.  Pull the freezer paper off the back, and give the label a final press.  I press the four edges under 1/4 inch and give them a nice press.

5) Sew the label onto the back of your quilt.  Usually I sew the label into the bottom corner of the back left side.  Which means when the quilt is right side toward you, the label is behind the right bottom corner.  As with all things quilty, there are no hard and fast rules, but this is what I do.

One of the labels I made was for the quilt “Buds in a Basket” that I show below:  


The only other step I should add to the 5 step process above is......(6) proofread the final label!  As I was getting ready to sew this label onto the quilt, I noticed I had printed the name of the quilt as “Birds in a Basket” instead of Buds!  Groan....I went back to the computer to print another version with the correct name,  Buds in a Basket.

Here is a picture of the labels I made before they are sewn onto the quilts:


The Buds in a Basket quilt is now completely finished and I shall blog about it in my next post, as I am stoked that it is finally finished.

What are you working on this week?  I so enjoy looking at all the pictures, and going to your blogs to read more about your quilts.  Thank you for linking up with Design Wall Mondays.


You are invited to the Inlinkz link party!

Click here to enter