Pages

Showing posts with label Churn Dashers. Show all posts

Monday, July 20, 2020

Design Wall Monday - July 20, 2020

Good Morning Quilters!  Progress is being made this past week on my third Chimney Sweep/Album quilt for my Virginia group’s display next spring.  This third one is made of vintage fabric and I am admiring each square when it is completed.  Such pretty rich browns.  Here is the layout so far, but there are 11 more blocks to make and then assembly into a quilt top.  


The little baggies in the above picture have the block pieces I’ve re-cut from the old quilt top.  And here are close-ups of some of the beautiful old fabrics: 


The basket block hasn’t gotten too far this week, but it is started.  Here is my start on it:  


What are you doing?  Last week’s pictures were full of beautiful work.  I appreciate your links so much.  Please provide a link back to this post from somewhere in your blog post.   Thanks!


You are invited to the Inlinkz link party!
Click here to enter

Monday, July 13, 2020

Design Wall Monday - July, 13, 2020

Good Morning Quilters! I made some progress on the quilts I am making for the Churn Dashers of Tidewater Virginia’s display in a quilt show next spring.  The pink setting fabric on this one is a Judie Rothermel fabric named “Judie’s Album Quilt”.  Seems appropriate that I named my quilt “Judy’s Album Quilt”.  


This picture was taken before I trimmed down the outside setting triangle blocks.  I always make them a little larger and trim them down, so I am sure they aren’t too small.  The quilt top now measures 66” by 82”.  

Next, I am working on some vintage album blocks that I unsewed, trimmed to make the pieces uniform sizes, and am reconstructing.  I cut the smallest old pieces to the biggest size I could make them and still have them a uniform size. Then, I took that size, and cut all the other pieces to coordinate with it.  The blocks are the same design as the quilt above, but smaller.  Their finished block size will be 8.25” by 8.25”.  Here is “before trimming” and “after trimming” pictures of the pieces of one block:


Original varied sizes
Now cut to uniform sizes

Here is a block that has been redone to the new size, except it hasn’t been trimmed to the final size of 8.75” by 8.75”.  Notice the outside white pieces are again a little oversized, as I hate it when they turn out too small.  I’d much rather trim them up and admire a block perfectly squared up.  The background is “Civil War Album II by Pam Weeks Circa 1863 for Newcastle Fabrics” that I am probably using with the vintage blocks.


Also, I am continuing to work on the embroidery squares of vintage baskets.   Here is the “strange French knot flower” block, with a satin stitch center.  I am not good at satin stitch, but it is finished, and I’m moving on.  I think I have 16 blocks right now.


What are you working on (or playing with) on your design wall this week?  Remember to mention this blog and provide a link to this particular post somewhere within your post.  Thanks very much, and I’m looking forward to enjoying your pictures.


You are invited to the Inlinkz link party!
Click here to enter


Monday, August 5, 2019

Design Wall Monday - August 5, 2019

Quite a lot of progress this week, for a change.  Our guests this past week were three of Lloyd's golf buddies from Virginia; so while they were golfing, I was at my sewing machine.

Here is my progress on the replica of the vintage quilt I showed you last week:


Here is a picture of the vintage quilt:


And here are a few small blocks I've made in preparation for a small doll quilt to go with the bed sized one.  These small blocks will finish at 4 1/4 in. x 4 1/4 in.


This week has been spectacular at Hamlin Lake.  Here is a photo taken by hubby after he put the American flag up this morning.  The lake was so still, and there was fog on part of the water.  So serene!


     Looking forward to progress on your Design Walls.  What's up?  Please join in and link up with this post, and, somewhere within your post, please provide a link back to this particular post.  Thanks so much!


You are invited to the Inlinkz link party!L


Monday, April 8, 2019

Design Wall Monday - April 8, 2019

Sometimes retirement seems busier to me than when we were working.  Although we are back from our Texas trip, we are on vacation again to visit friends in Virginia.  My group of quilters who like to make civil war reproduction quilts, The Churn Dashers, is having their semi-annual meeting.

So today, I am in Williamsburg, VA, taking a tour this morning of Colonial Williamsburg's Textile Conservation storage facility and two textile labs.  The tour was arranged by one of the Churn Dasher group members, who has been a volunteer there for over twenty years.  What a treat she has provided for the group.

Here is a picture of my design wall, and as far as I am on the little baskets quilt:


The top left corner four blocks are together, and the rest are pinned up in pieces, waiting for me to get to them.  I guess I don't enjoy this part of making a quilt - obviously!
Thanks for linking up with Design Wall Mondays.  Ya'all are so talented!  (I'm in Virginia so I'm using their language)  Please provide a link back to this particular blog post somewhere within your blog post.  Bless your heart!  My Michigan vocabularly will be back next week when I'm back home, thanks for indulging me.  :)


You are invited to the Inlinkz link party!
Click here to enter

Monday, October 22, 2018

Design Wall Monday - October 22, 2018

My design wall today has a new doll quilt made as a replica of an old one in the Metro Museum of Art.  I am writing this post Sunday afternoon, because on Monday morning, I will be flying to Virginia to meet with the Churn Dashers.

Here is a new doll quilt top, which now measures 21 by 21 inches, before quilting and binding:


The blocks finish at 5 inches square, and the measurements to make the block are as follows:

The larger block, which I talked about last week, finishes at 10 inches square and is explained (Here).  I took those measurements and modified them to make a 5 inch block.  The outside three triangles on each side of the block and the four corner triangles are where I wanted a little "wiggle" room in case my seams weren't exactly 1/4 inch, so those pieces are cut a little bit bigger, and hopefully, there will be no problems when trimming it to 5.5 inches at the end.

Colored fabric for the ten chimney "bricks"  
Two pieces 1 3/8 by 3 1/8 inches
Six pieces   1 3/8 by 2 1/4 inches
Two pieces 1 3/8 by 1 3/8 inches

Background Kona Snow pieces:
One piece 1 3/8 by 3 1/8 inches 
Two pieces 1 3/8 by 1 3/8 inches
The above three pieces form the center "cross".
Background Kona Snow edge pieces:
To create the twelve side triangles:
Cut three squares 2 1/2 by 2 1/2 and then cut them from corner to corner twice, giving you twelve triangles with the straight of grain on the outside longer edge.
Corners:
Cut two squares 1 3/4 by 1 3/4 and cut them from one corner to another, yielding four triangles with the straight of grain on the two shorter sides of the triangle.

Assemble the block as per the pictures at the link above, and trim it to 5.5 by 5.5 inches.

The inspiration doll quilt that is in the Metro Museum of Art was made in 1852 by Ella Mygatt Whittlesey.   It is completely hand stitched and quilted.  Also, Ella was seven years old when she made it, just a few years younger than this 75 year old blogger!  Her quilt measures 26 x 24 3/4 inches.


Here's also a closeup of one of my five inch squares.  I used the stripe in the opposite direction as I did on the ten inch block of the same fabric (see last week's blog post pictures).   As you can see, my outer corners of the colored parts are getting cut off a little bit in the seams, so I hope the addition of "wiggle" room in the measurements I give you above will eliminate that.  If you make nine blocks, and they all trim to the same size, it doesn't matter if they are 5.5 by 5.5 or some other measurement close to that.  After all, it's just a doll quilt.   So easy a seven year old can make it!


Well, what's on your design wall this morning?  It has been so noice seeing all of your design walls.  What's "noice"?  A new word this week spoken to me by a grandson.  It means "Beyond the boundaries and exceeding the limits of nice.  Spoken with emphasis when describing something particularly awesome."   That fits your links to my blog.

If you'd like to linkup, please mention this particular blog post somewhere within your blog post.  Thanks!


Monday, October 1, 2018

Design Wall Monday - October 1, 2018


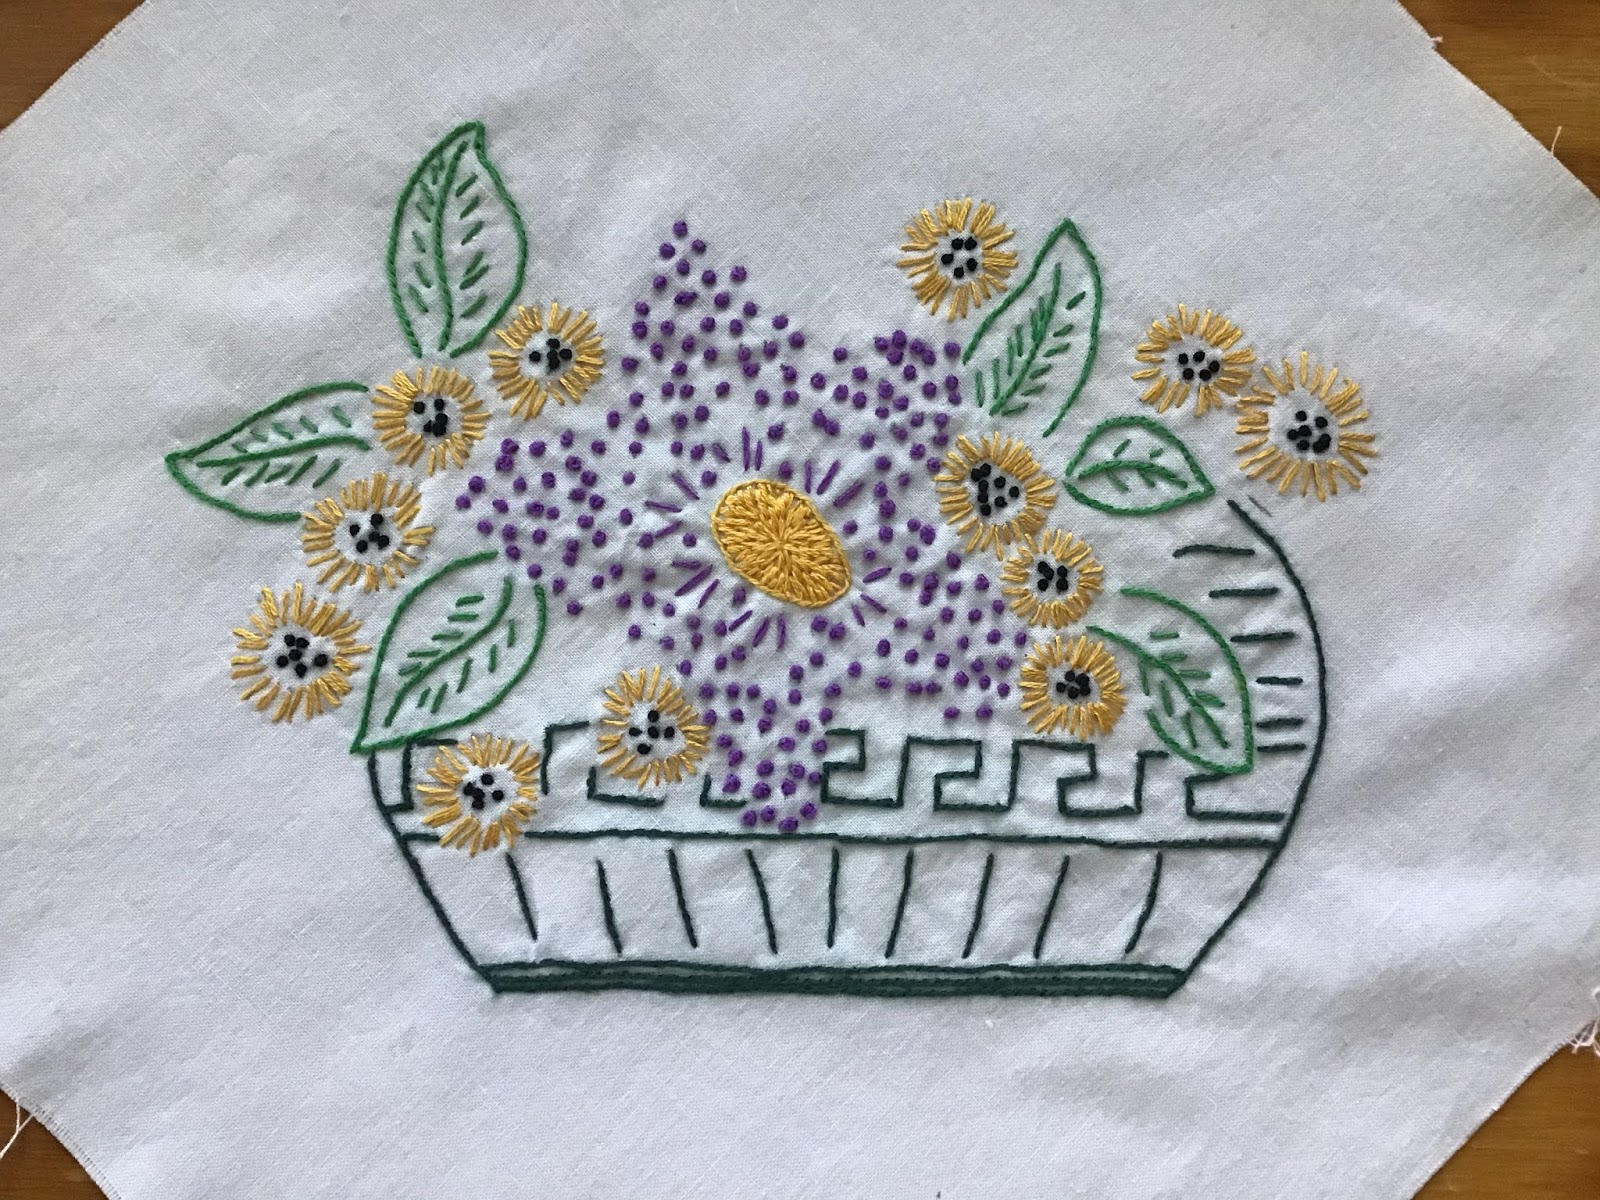
It was so good to be back to quilting, and I made hanging sleeves and quilt labels for seven doll quilts that will be in a quilt show in Virginia next spring.  I am going to Virginia later this month, and want to leave them with the Churn Dasher's Group when I meet with them.


Two of the quilts are from Lori Dejarnett's blog quilt-a-longs.  Her blog (Humblequilts.blogspot.com) is having another doll quilt group project coming up this week.  I think the first part of the instructions come out this Wednesday.  I am planning to participate, it's always fun.

This one below was a quilt she called "Mid-Winter Blues".  I renamed it "Raggedy Ann's Doll Quilt", as it looks great with my Raggedy Ann and Andy dolls.  It's 20.5 inches by 20.5 inches square.


The next one is also from her blog, and she named it "Abundance".  I also kept that name for it.  It is 10.5 inches by 10.5 inches.


Last week started off Monday evening with Miss Penny going to the emergency room, but the issue was resolved quickly.  It was a bad ear infection and possibly also an allergic reaction to something, but she's all better now.  The only sign that she had some trauma is the two shaved patches on her ears (her ears were swollen up, and they had to be drained).  She is as good as new now, though.  She's on benadryl for a little while longer, and ear drops for the ear infection.  Nothing phases a labrador!  She is 47 pounds now, and still growing.


But back to quilts:   Here are three pictures showing all seven quilts on my coffee table (my design wall today):


The hanging sleeves are four inches deep, and must be the width of the quilt.  The labels are made on my computer printer.  I first cut fabric and freezer paper to the size of a piece of computer paper (8.5 by 11).  I then iron them together, and sew a line of stitching near the top of the 8.5 end.  The line of stitching keeps the two pieces together while they are feeding through the printer.  I only feed one through the printer at a time, to keep from having printer problems.

I use Microsoft Word software and prepare the label info, choosing a font that I like.  These were printed two per 8.5 by 11 sheet, and after coming out of the printer, I iron them again.  I cut off the line of stitching that is holding the freezer paper to the fabric, and then pull the freezer paper off.  The fabric labels are then cut to size and stitched to the back of the doll quilts, easy peasy.

Here are two of the labels shown up close:


What are you working on this week?  Please show us what's on your Design Wall.  The only request I have is that you refer back to this particular blog post somewhere within your blog post.  Thanks for joining in!